


Step-by-Step Instructions for Installing a Roof Rack
- Antidote Paddle

- Mar 20
- 4 min read
Installing a roof rack can significantly enhance the utility of your vehicle, allowing you to transport gear, luggage, and sporting equipment with ease. Whether you're heading out on a road trip, skiing adventure, or camping excursion, knowing how to install a roof rack correctly is essential. This comprehensive guide will take you through the necessary steps to successfully install a roof rack on your vehicle.
Roof Rack Guide: Understanding the Basics
Before diving into the installation process, let’s cover some basics about roof racks. A roof rack usually consists of crossbars that are mounted on the roof of your vehicle, fixed to either factory-installed rails or directly to the roof. There are various types of racks designed for specific purposes, such as:
Cargo carriers: Ideal for transporting bulky items like luggage.
Bike racks: Designed to securely hold bicycles.
Kayak carriers: Tailored for mounting kayaks and canoes.
Did you know that a properly installed roof rack can increase your vehicle's storage capacity by up to 25%? This space optimization can be crucial for families or outdoor enthusiasts needing extra space for gear and equipment.

Preparing for the Installation
Before getting started, gather all the necessary tools and equipment. Here’s what you’ll typically need:
Roof rack system (crossbars and towers)
Torx or Phillips screwdriver
Torque wrench (if required by your rack instructions)
Measuring tape
Ladder or step stool for reaching the vehicle roof
Cleaning supplies to remove dirt and debris
Having everything in place ensures a smooth installation process. It's also crucial to read the roof rack’s installation manual carefully. Different brands may have distinct requirements or steps.
How to Properly Install a Roof Rack?
To install a roof rack properly, follow these step-by-step instructions:
1. Inspect the Roof
Start by checking your vehicle's roof. Ensure that the installation area is clean, free from residue, and in good condition. Dirt or damage can impede the roof rack's stability.
2. Position the Crossbars
Line up the crossbars on your vehicle’s roof. If your vehicle has factory rails, install the rack according to their guidelines. If not, measure the width of your vehicle to place the crossbars evenly. The optimal distance varies but is typically 24-48 inches apart to ensure stability.
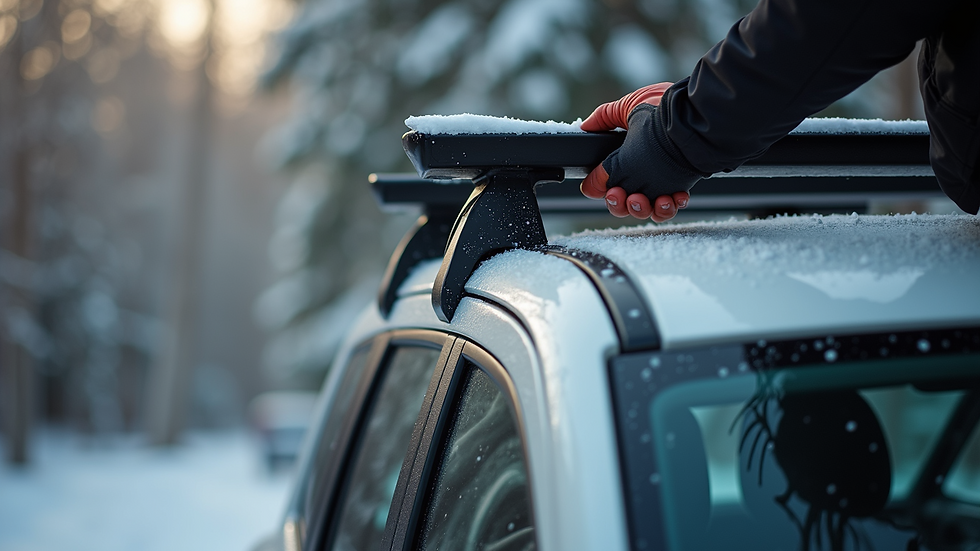
3. Secure the Mounts
Once the crossbars are positioned, attach the mounts to the bar according to the manual’s instructions. Use the screws provided in the kit to secure each mount. Be sure not to overtighten them, as this may damage the vehicle or rack.
4. Install the Feet
Next, install the feet of the roof rack system. These will connect the crossbars to your vehicle’s roof. Again, follow the manufacturer’s specifics to ensure proper attachment and alignment.
5. Double-Check and Test
After installation, go around and double-check all the screws and fittings. Ensure everything is tightened correctly without stripping the screws. It’s a good idea to gently shake the rack to test its stability.
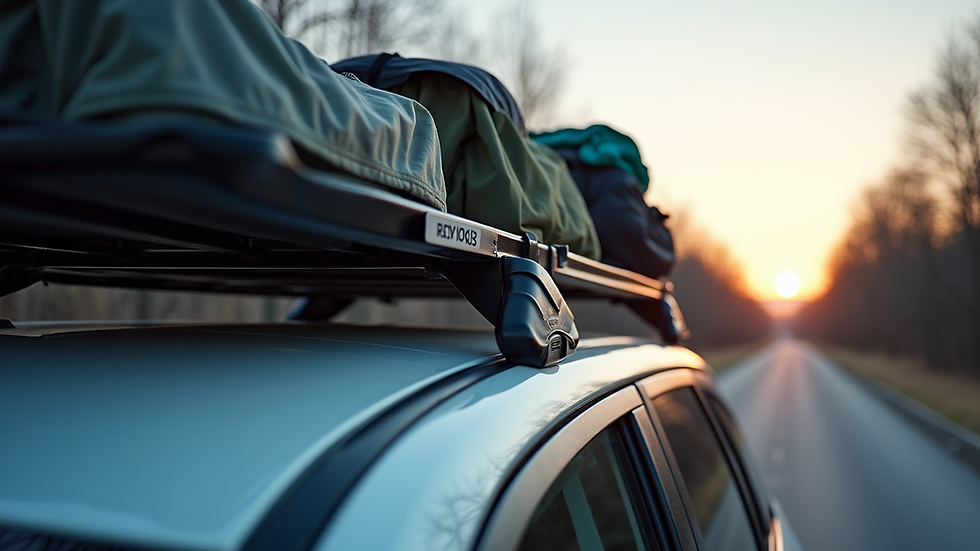
6. Load and Secure Your Gear
Once you are confident that the roof rack is securely installed, it's time to load it. Make sure your gear is evenly distributed across the crossbars and strapped down tightly to prevent shifting during travel.
Maintenance Tips for Your Roof Rack
After installation, it’s important to maintain your roof rack to ensure longevity and safety. Consider these tips:
Regular inspections: Check for wear and tear, loose screws, or rust. This ensures that your roof rack will be safe for long-term use.
Cleaning: Clean your roof rack regularly to prevent rust and damage, especially after off-road trips.
Seasonal adjustments: If you frequently switch between uses (like biking in the summer and skiing in the winter), adjust or remove elements as needed.
Why Installing a Roof Rack is Beneficial
Having a roof rack is not just about enhancing storage space; it opens up a world of possibilities for adventures. Whether it’s road trips, camping, or transporting sports gear, a roof rack can make life easier. In fact, statistics show that over 60% of outdoor enthusiasts prefer vehicles equipped with a roof rack for their transport needs.
Additionally, using a roof rack can help maintain your vehicle’s interior space. This ensures comfort for all your passengers without sacrificing legroom for luggage.
Exploring Additional Options
Depending on your intended use, there are many accessories available for your roof rack:
Cargo bags: Weatherproof bags that help keep your gear dry and secure.
Bike attachments: Specialized racks that make transporting bicycles safer and easier.
Load straps and pads: Protect your load while securing it firmly on your rack.
Exploring these options can enhance your roof rack experience, ensuring you have everything you need for your adventures.
Final Thoughts on Roof Rack Installation
Installing a roof rack may seem daunting at first, but with these detailed instructions and careful preparation, you can do it successfully. Regular maintenance and carefully planning your loads will ensure you have a safe and enjoyable experience using your roof rack.
For those seeking a comprehensive roof rack installation guide, feel free to check out additional resources to make your installation process even easier. With proper use and care, your roof rack will serve you well for many adventures to come!


Comments